|
|
|
|
|
| Stella Blue a Mainship 400 Trawler |
|
New!!! |
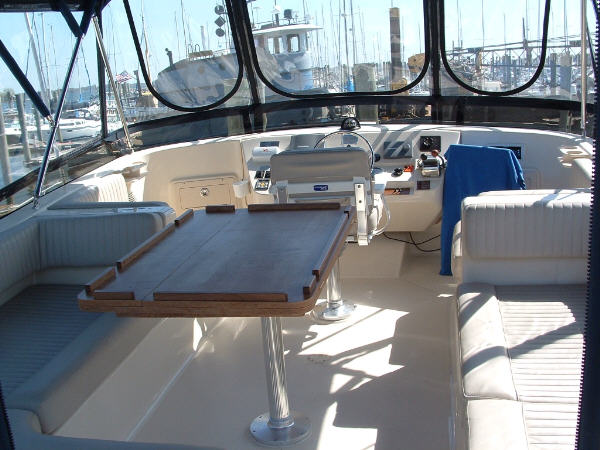
Mainship 400 Flybridge TableThe flying bridge of the 400 is an exceptional space. It is not just a place to run the boat from. In can be a prime living space on this boat. Stella Blue has a full enclosure around the seating area and has the summer kitchen option on the spacious aft deck. We love to spend time enjoying the views and sun from this deck. It's a great place to have lunch or entertain friends. The one shortcoming is the fold down table. Most 400 owners I've talked to have expressed similar displeasure with this table. Mainship has done a wonderful job with the fiberglass table on the 430, and I wish they had used a similar approach on the 400. What follows is a description of what was there and my approach to the table. This is a first proto type to test over the season and decide if any changes are in order before committing the design to expensive lumber. At the end of the page, is a description of the mounting of the pedestal. As always, I look forward to comments, suggestions, and questions. E-mail Steve Cyr.
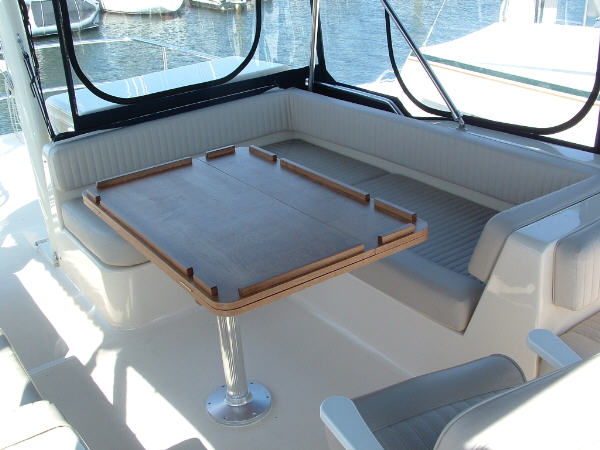
The design I finally decided on is a pedestal mounted, wood table, with fold over leaves. I have built the table to measure 42 x 28 in the closed position. It is mounted off the centerline to port to allow plenty of room for passage to the helm. The table is mounted on the same Garelick pedestals that the outside cocktail table in mounted on. This makes the tables interchangable. There are times that I wished for a more usable work table when cooking on the grill. By swapping the tables around, the small round table could serve as a nice cocktail table inside while snacks off the grill could be served on the aft deck. The smaller cocktail table would allow guests to move about more freely.
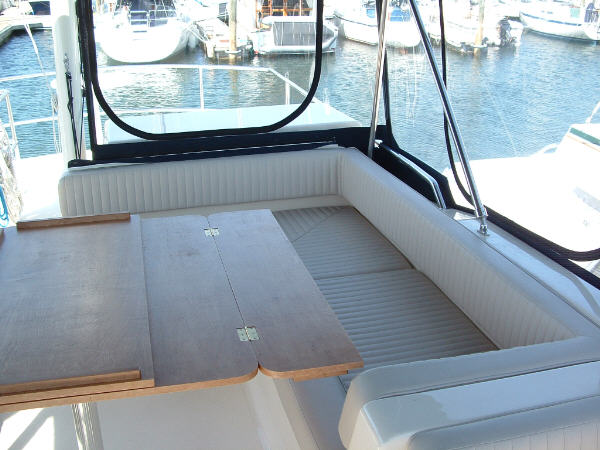
For dining, a couple can use the port side leaf which adds 9" for a 42 x 37 inch table.
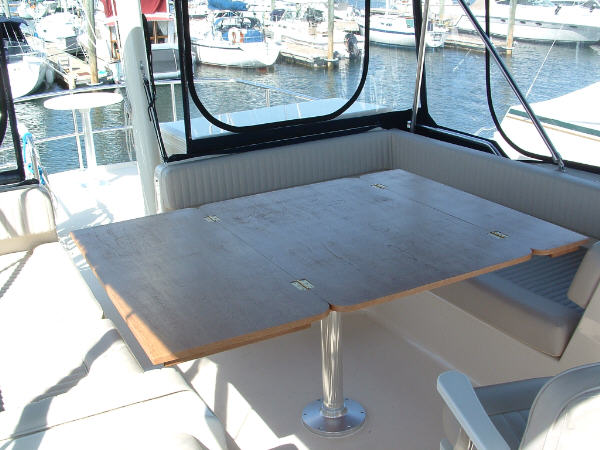
When having a larger dinner party, or the table game attracts more players, the starboard leaf can be opened for a 42 x 56" table.
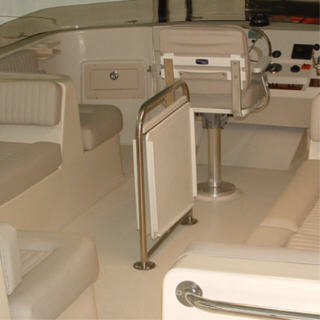
Just one more picture looking forward, showing the ample space to walk forward to the helm while still having a decent size chart/snack table up.
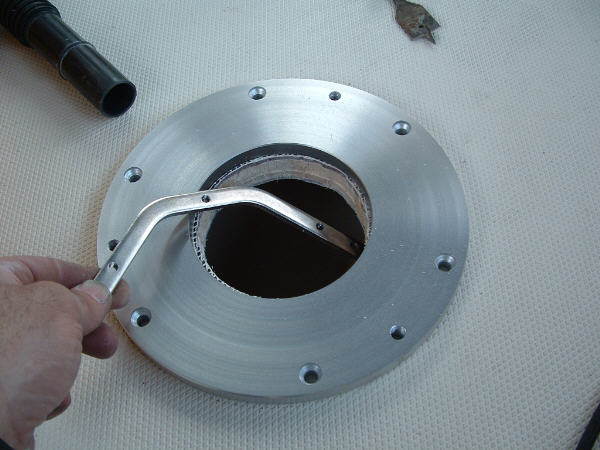
Mounting The PedestalThe Garelick pedestal is mounted on a mounting plate.
Unlike the helm seat and aft table, which use 3 socket head cap screws to
fasten the pedestal to the mounting plate (only available to OEM's), the
version available for consumers, uses 6 flat head screws that pass through
the mounting plate and screw only into the anchor plates below deck. The
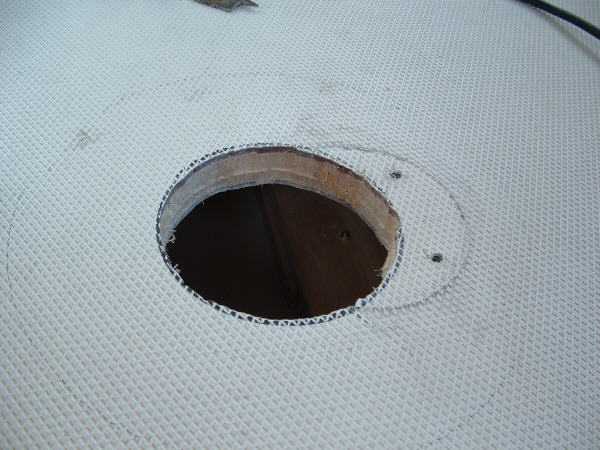
mounting plate serves only as a spacer. Picture below shows a hole cut
through the balsa cored deck (and who said they don't use balsa in the
decks any more?) about the size of the mounting plate hole. This hole is
only necessary if you do not have access to the
The system uses stainless steel, threaded anchor plates to secure the the mounting plate to the deck. Here I have drilled the screw holes through the deck and positioned the mounting plate. The combination nut/backing plates are slipped through the access hole and secured with sealant to the underside (the mounting plate is temporarily screwed down to the backing plates while things cure). After the sealant has cured the screws are removed and you are ready to bed the mounting plate and screw the pedestal in place.
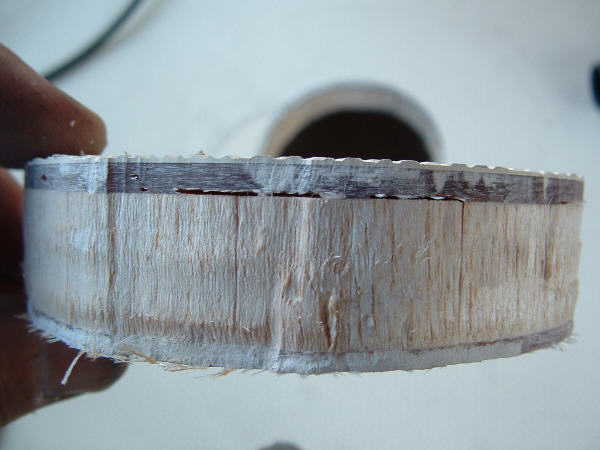
Be sure to properly bed all hardware and seal all open edges on the decks of these boats. Typical of balsa cored decks, voids in the laminate as shown in the plug removed from the flybridge will let water spread and will lead to major core problems if leaks occur.
Email - srcyr@sbcglobal.net |